Part 1: https://harulee.org/2025/04/02/custom-keyboard-part-1-sampler
After choosing keycaps and switches (from part 1), my girlfriend suggested the Lulu keyboard which she said was ergonomic, split and backlit. We went to Boardsource website and I bought a Lulu keyboard with a silver case, a clear tenting kit, and a clear bottom options, and she added an OLED screen. Lulu keyboard came with a PCB, an Rp2040 CPU, a 16mb rom and a 6x4x4 split layout.
Once we got all the parts delivered, we started putting it all together. However, I kept pushing the stem parts when assembling the switches to the board, and ended up breaking several of them. I broke too many that we had to order more and wait a few more days to complete the assembly.
When I first plugged in the keyboard, my Mac did not recognize the keyboard and my girlfriend told me I would have to install a firmware manually. Boardsource website said to use Peg software which I did but it didn’t work. After some trials and errors, I joined their Discord server and learned that Peg was no longer supported (I hope they update their website soon). After some research, I decided to use QMK Firmware. Among the well-known and widely used firmwares, QMK seemed to provide the best customization option which I thought I would enjoy in the future. I did get a custom keyboard after all.
I installed QMK and compiled the given keymap (a file that maps physical keys to digital characters) to a firmware. Then I learned that I had to put my keyboard into flash mode to complete the installation. QMK document said every brand does this differently and that even a single brand can have multiple ways of doing this for different products. I tried 9 different ways before I finally got it working, which was holding the ESC key then plugging in the keyboard. At first, I couldn’t tell if my keyboard was in flash mode because nothing seemed different. But I plugged and unplugged it several times and noticed that “RPI-RP2” got mounted and unmounted on Finder every time, so I assumed it had to be the keyboard. I put the keyboard into flash mode, ran the QMK command (which automatically ejected the keyboard), unplugged and re-plugged it, and my keyboard started working!
When I started using my new keyboard, I noticed that only the left side was working. Since I got a split keyboard, it seemed I had to install the firmware to each part of the keyboard. I used the QMK configurator to find the key equivalent to the ESC key on the right side then installed the firmware.
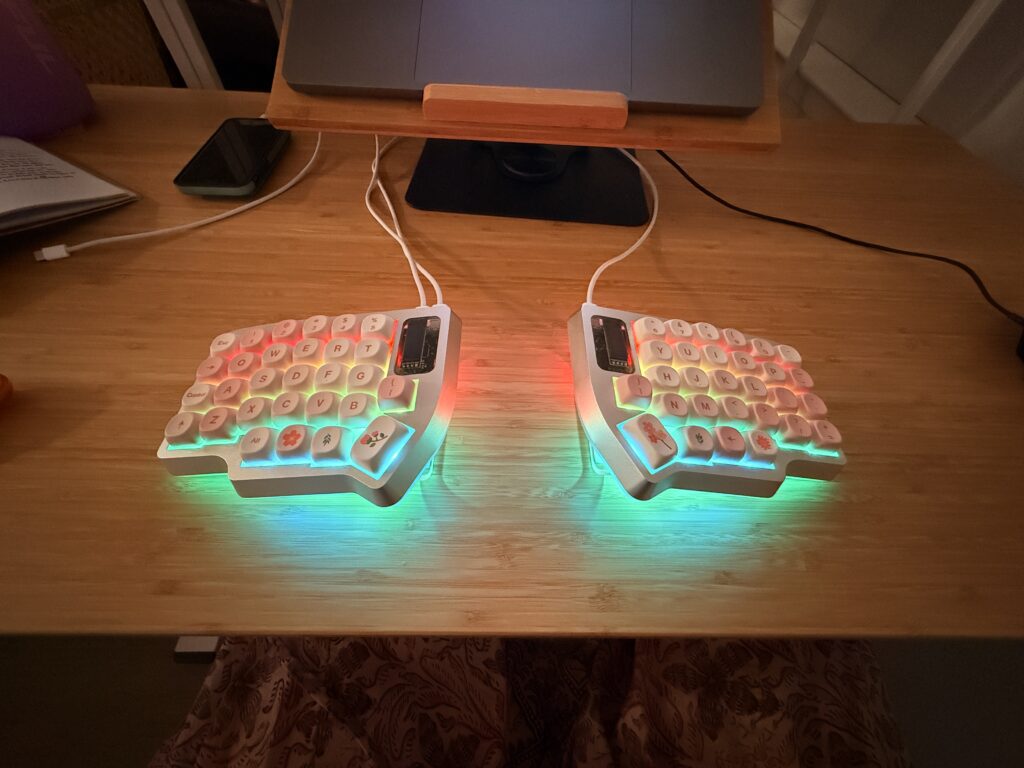
After all the troubles, it was finally fully working! I started using it on my Mac and it looked pretty. I would have to get used to its unique key layout but it’ll be worth it.
Part 3: https://harulee.org/2026/08/03/custom-keyboard-part-3-re-mapping-the-keys/